As a result, there could be a possibility of an older firmware in the inactive slot. This inconsistency between both the slots might not spell much trouble in the stock environment, but if you end up flashing a custom ROM, then a bricked device is usually on the cards. So to avoid this from happening, you will have to maintain the firmware consistencies across both the slots. And in this guide, we will show you how to do just that. Given here are the detailed steps to avoid bricking your device while flashing custom ROMs in A/B Partition.
How to Avoid Brick while Flashing Custom ROMs [A/B Partition]
To carry out this task, we will be using the copy-partitions.zip file. As is evident from its name, this script maintains a firmware consistency across both the slots by copying the contents of the active slot to the inactive slot. The file needs to be flashed only the first time you are flashing the ROM. For subsequent dirty flashes [updating the same ROM], it is not required. However, if you are moving from one custom ROM to another, you will again have to flash it. Moreover, do note that it should be flashed before installing a custom ROM, and ADB sideload should be the preferred method, as is explained below. While flashing this file will not wipe any data but flashing a custom ROM will. So take a complete device backup beforehand. Droidwin and its members wouldn’t be held responsible in case of a thermonuclear war, your alarm doesn’t wake you up, or if anything happens to your device and data by performing the below steps.
STEP 1: Install Android SDK
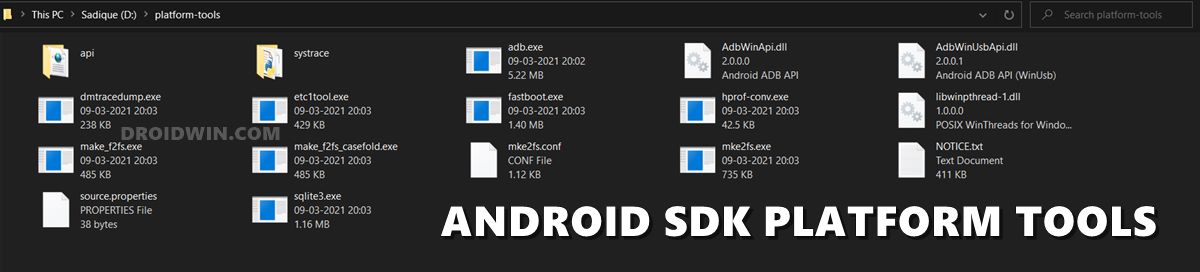
First and foremost, you will have to install the Android SDK Platform Tools on your PC. This is the official ADB and Fastboot binary provided by Google and is the only recommended one. So download it and then extract it to any convenient location on your PC. Doing so will give you the platform-tools folder, which will be used throughout this guide.
STEP 2: Download Copy-Partitions.zip
Next up, get hold of the copy-partitions zip file from below [credits: LineageOS developers erfanoabdi and filipepferraz]. Once downloaded, transfer it to the platform-tools folder on your PC. Likewise, rename the file to copy-partitions.zip Do note that this ZIP file hasn’t been officially signed, so you may get the ‘Signature verification failed’ error message while flashing it. It is completely normal and nothing to worry about.
STEP 3: Install Custom Recovery
You will now have to install a custom recovery onto your device. Nowadays, most custom ROMs with their own recovery, so it is recommended to flash that recovery itself. If there’s no such recovery, then you could always try out the TWRP Recovery. For detailed instructions on the same, do check out our guide on How to Install TWRP Recovery on Android. The shorter instructions are given below
STEP 4: Flash Copy-Partitions.zip
You may now proceed to flash the custom ROM via TWRP’s Install section or other custom recovery’s ADB Sideload feature. That’s it. These were the steps to avoid bricking your device while flashing custom ROMs in an A/B Partition device. If you have any queries concerning the aforementioned steps, do let us know in the comments. We will get back to you with a solution at the earliest.
About Chief Editor